 Lego EV3 +
 EV3DroidCV
A few years ago I have connected a Lego NXT robot with an Android mobile and used the phone to navigate the wheeled robot in the direction of light. For light detection I used OpenCV functions. The original project is called MINDdroidCV and can be found here
Since that time all components have changed significantly so I decided to renew the project:
- A new version of the programmable robot is out: LEGO EV3. The programming of EV3 is different from that of NXT so I had to find another communication method.
- The supported environment for Android development is Android Studio. I changed to this IDE from Eclipse. The Android OS has also changed significantly.
- OpenCV has a new main version, 3, with better support for Android development. This time instead of C++ native functions I tried to use Java wrappers.
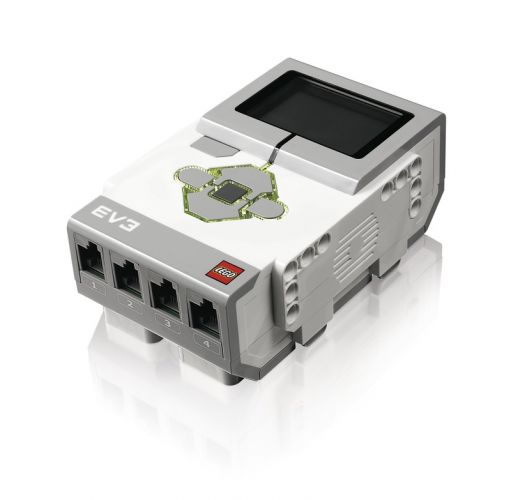
Lego EV3 is the next generation of the Lego Mindstorms' intelligent brick series. It differs from NXT in a lot of aspects. A good comparison can be found here. The set contains similar plastic components, motors, and sensors but the Linux-based brick is faster, has an SD card slot, and a USB connector.

The robot is able to boot from an appropriate card in the SD card slot. It gives the opportunity to temporarily change the OS of the brick without touching the original software components.
The USB connector may host a Wi-Fi dongle.
Let's build
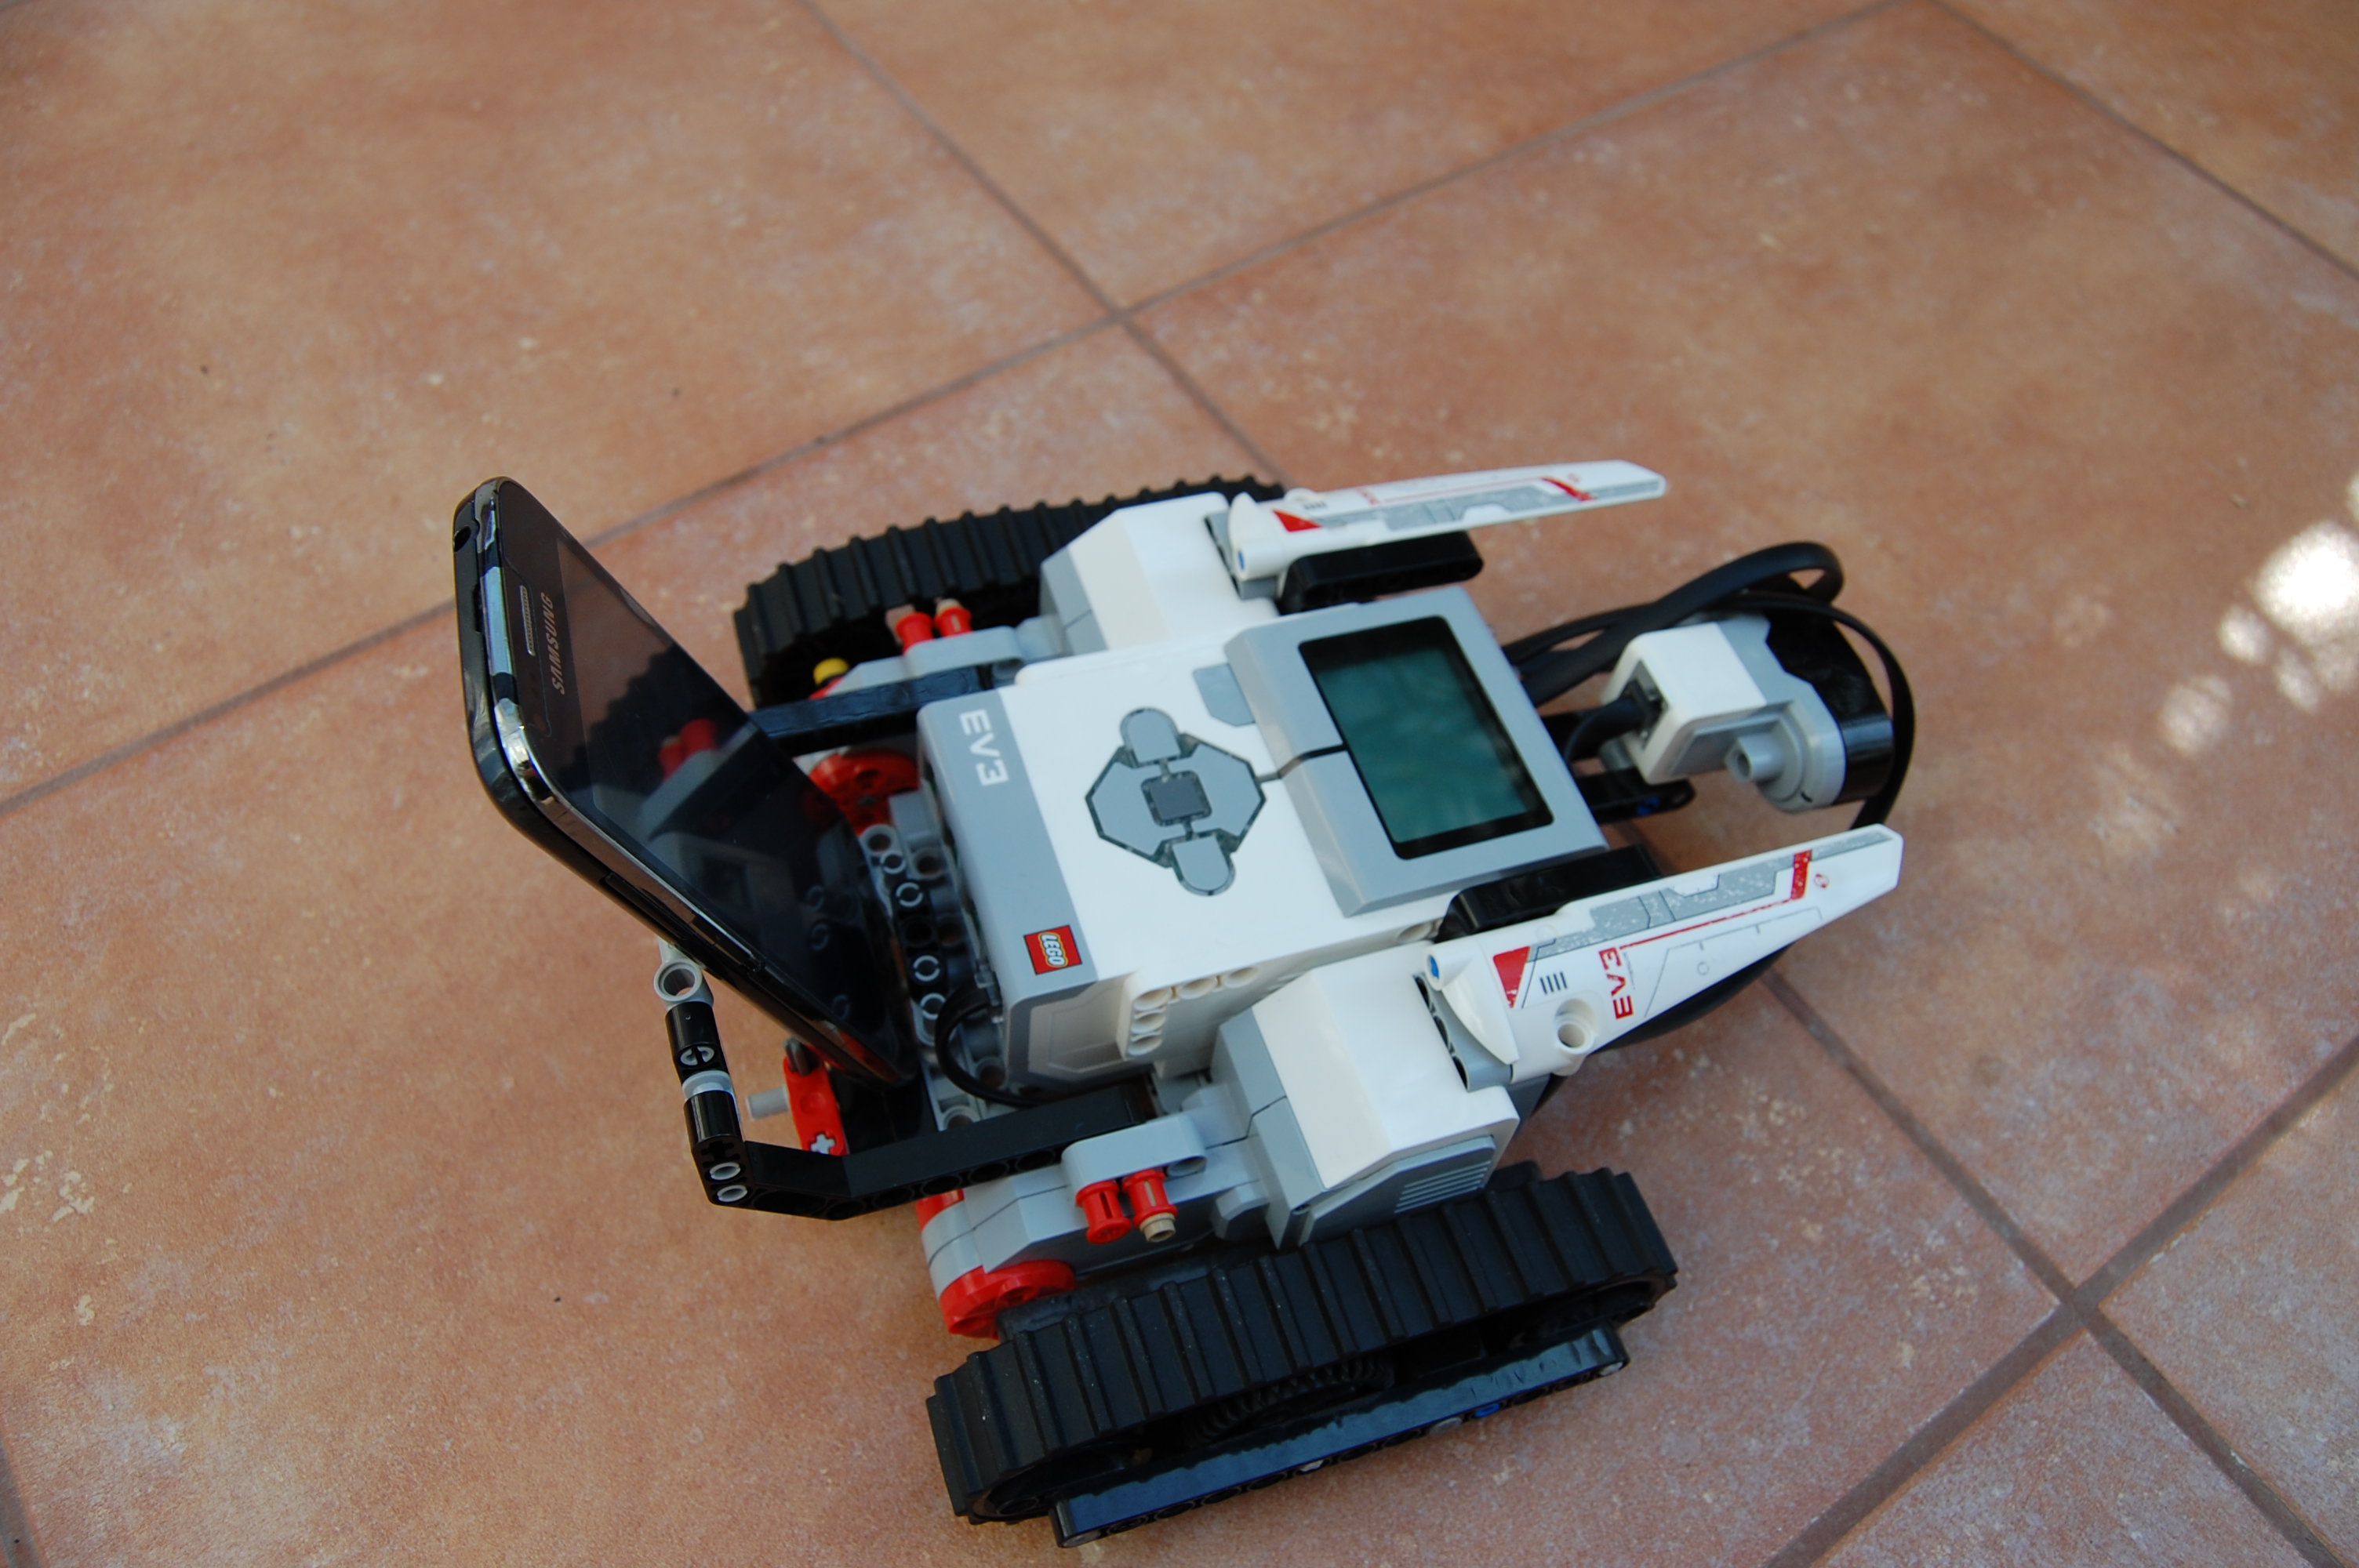
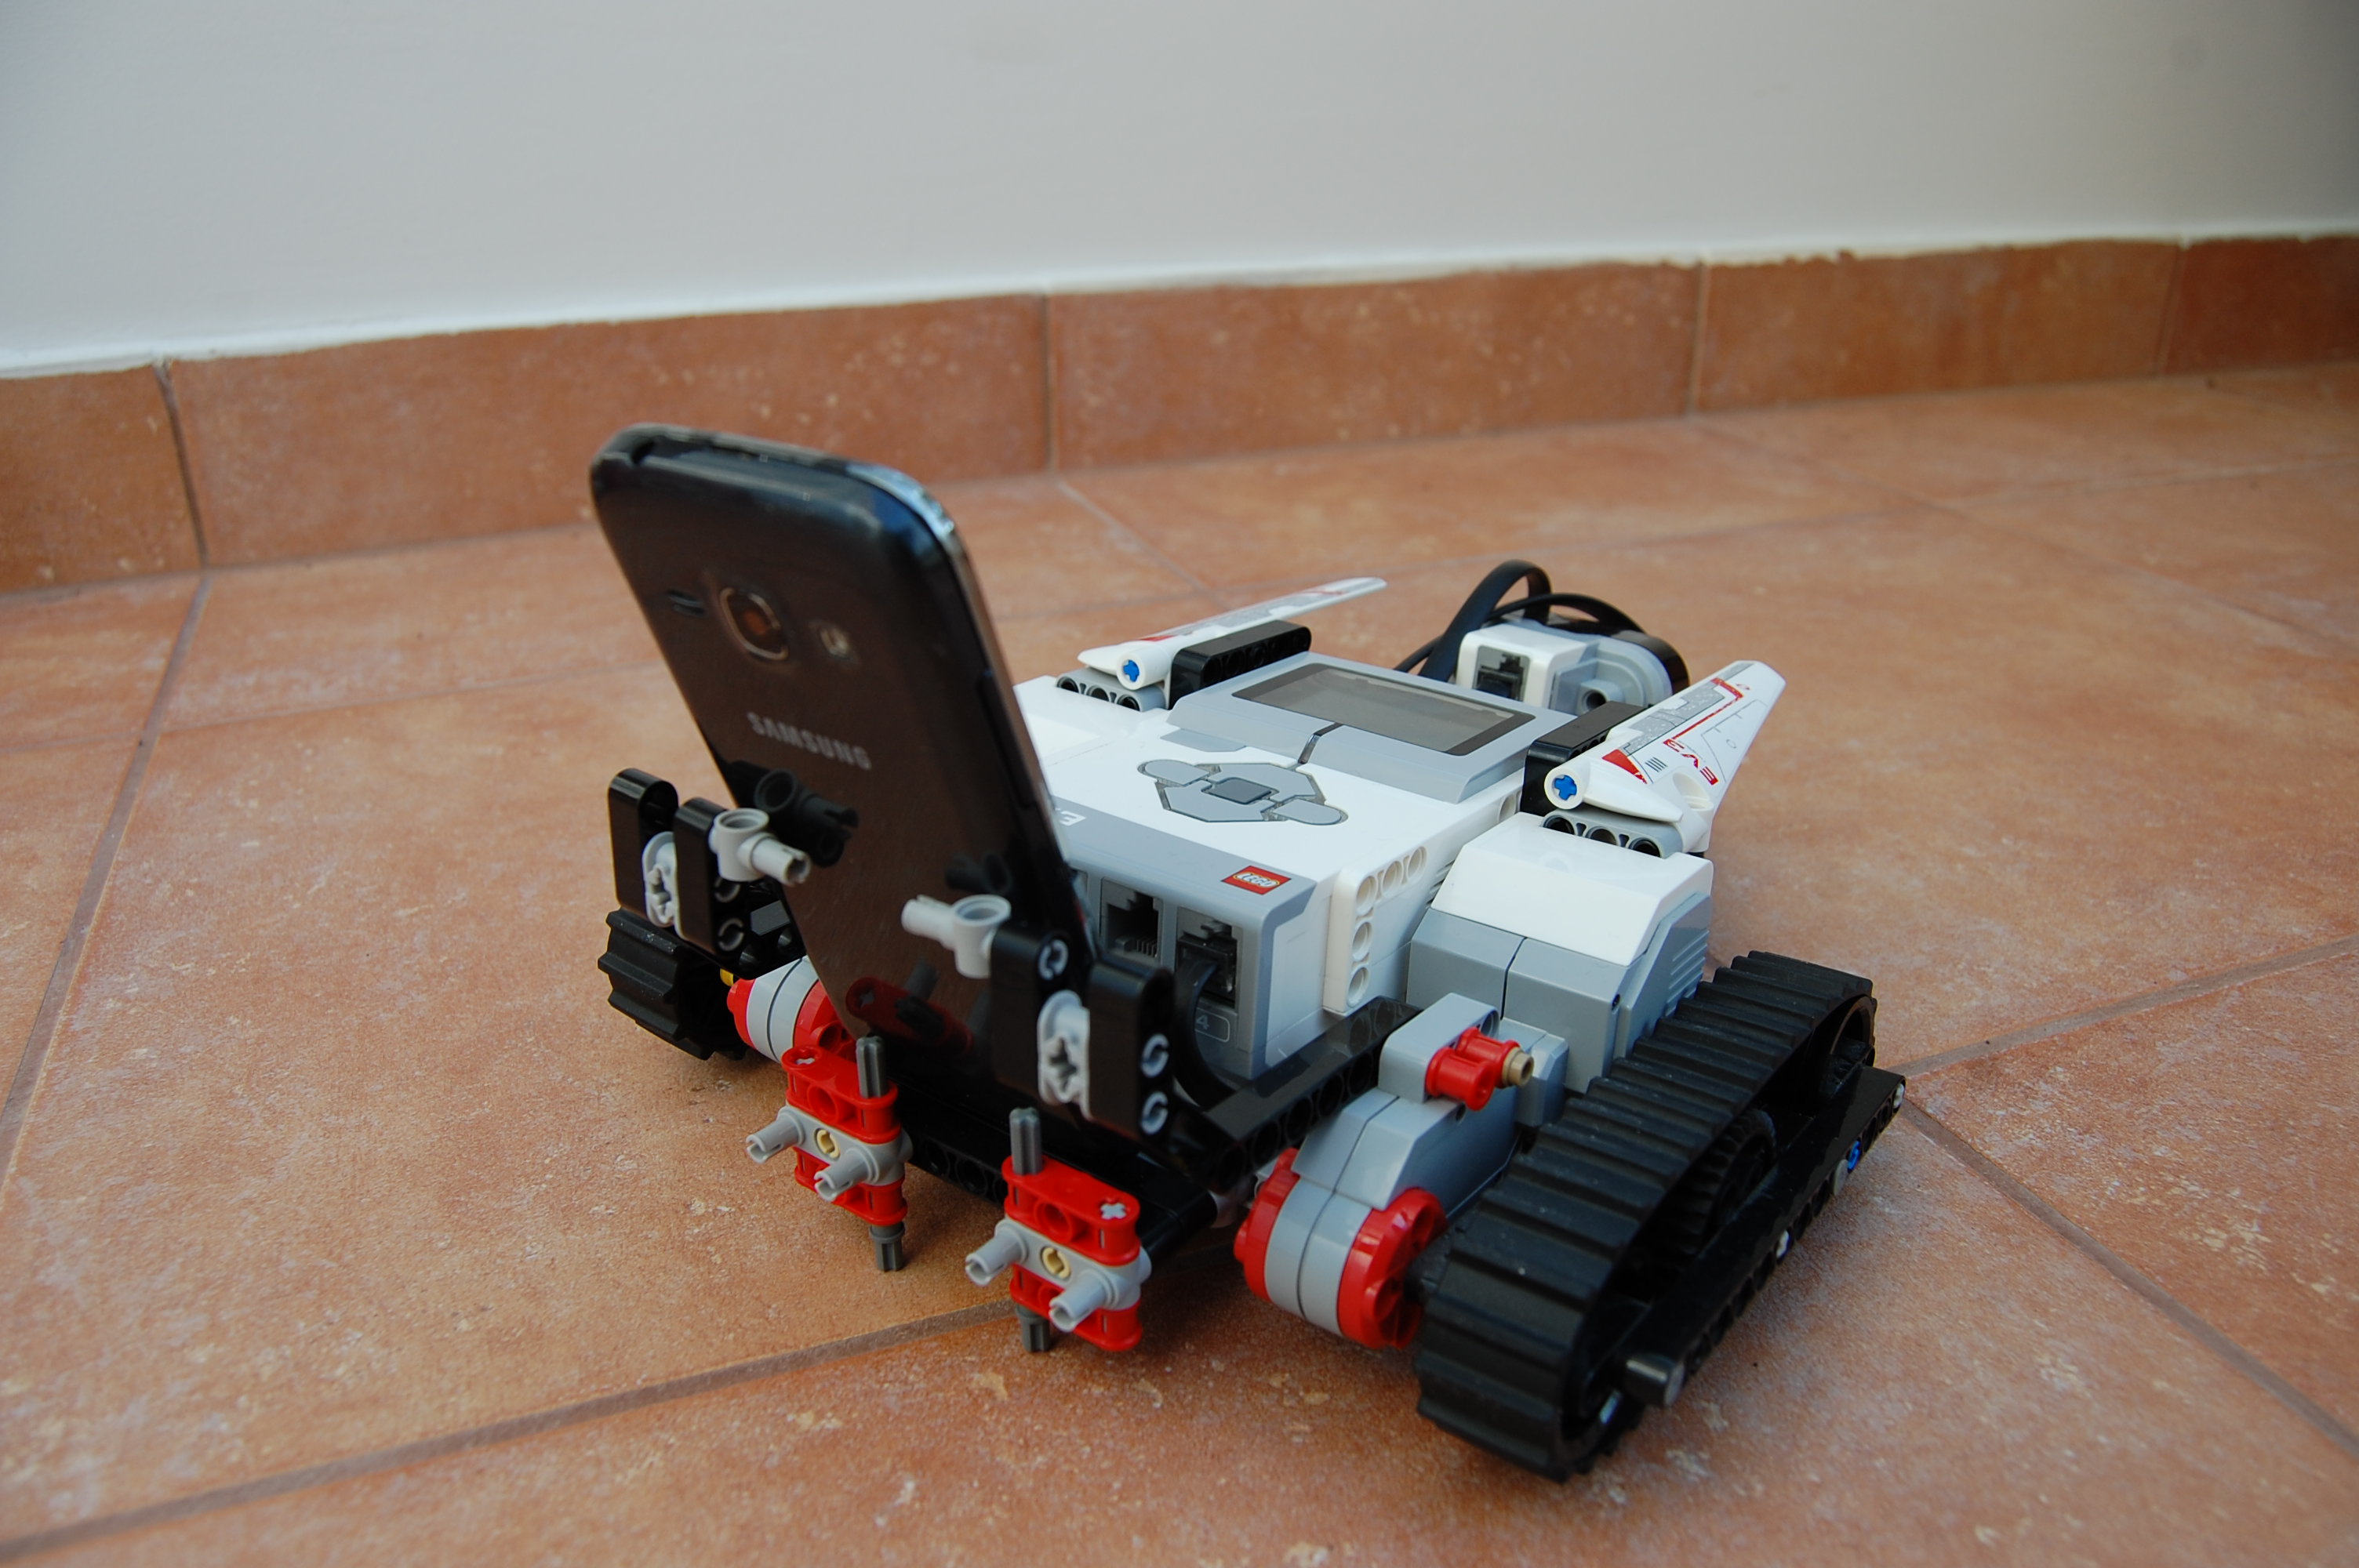
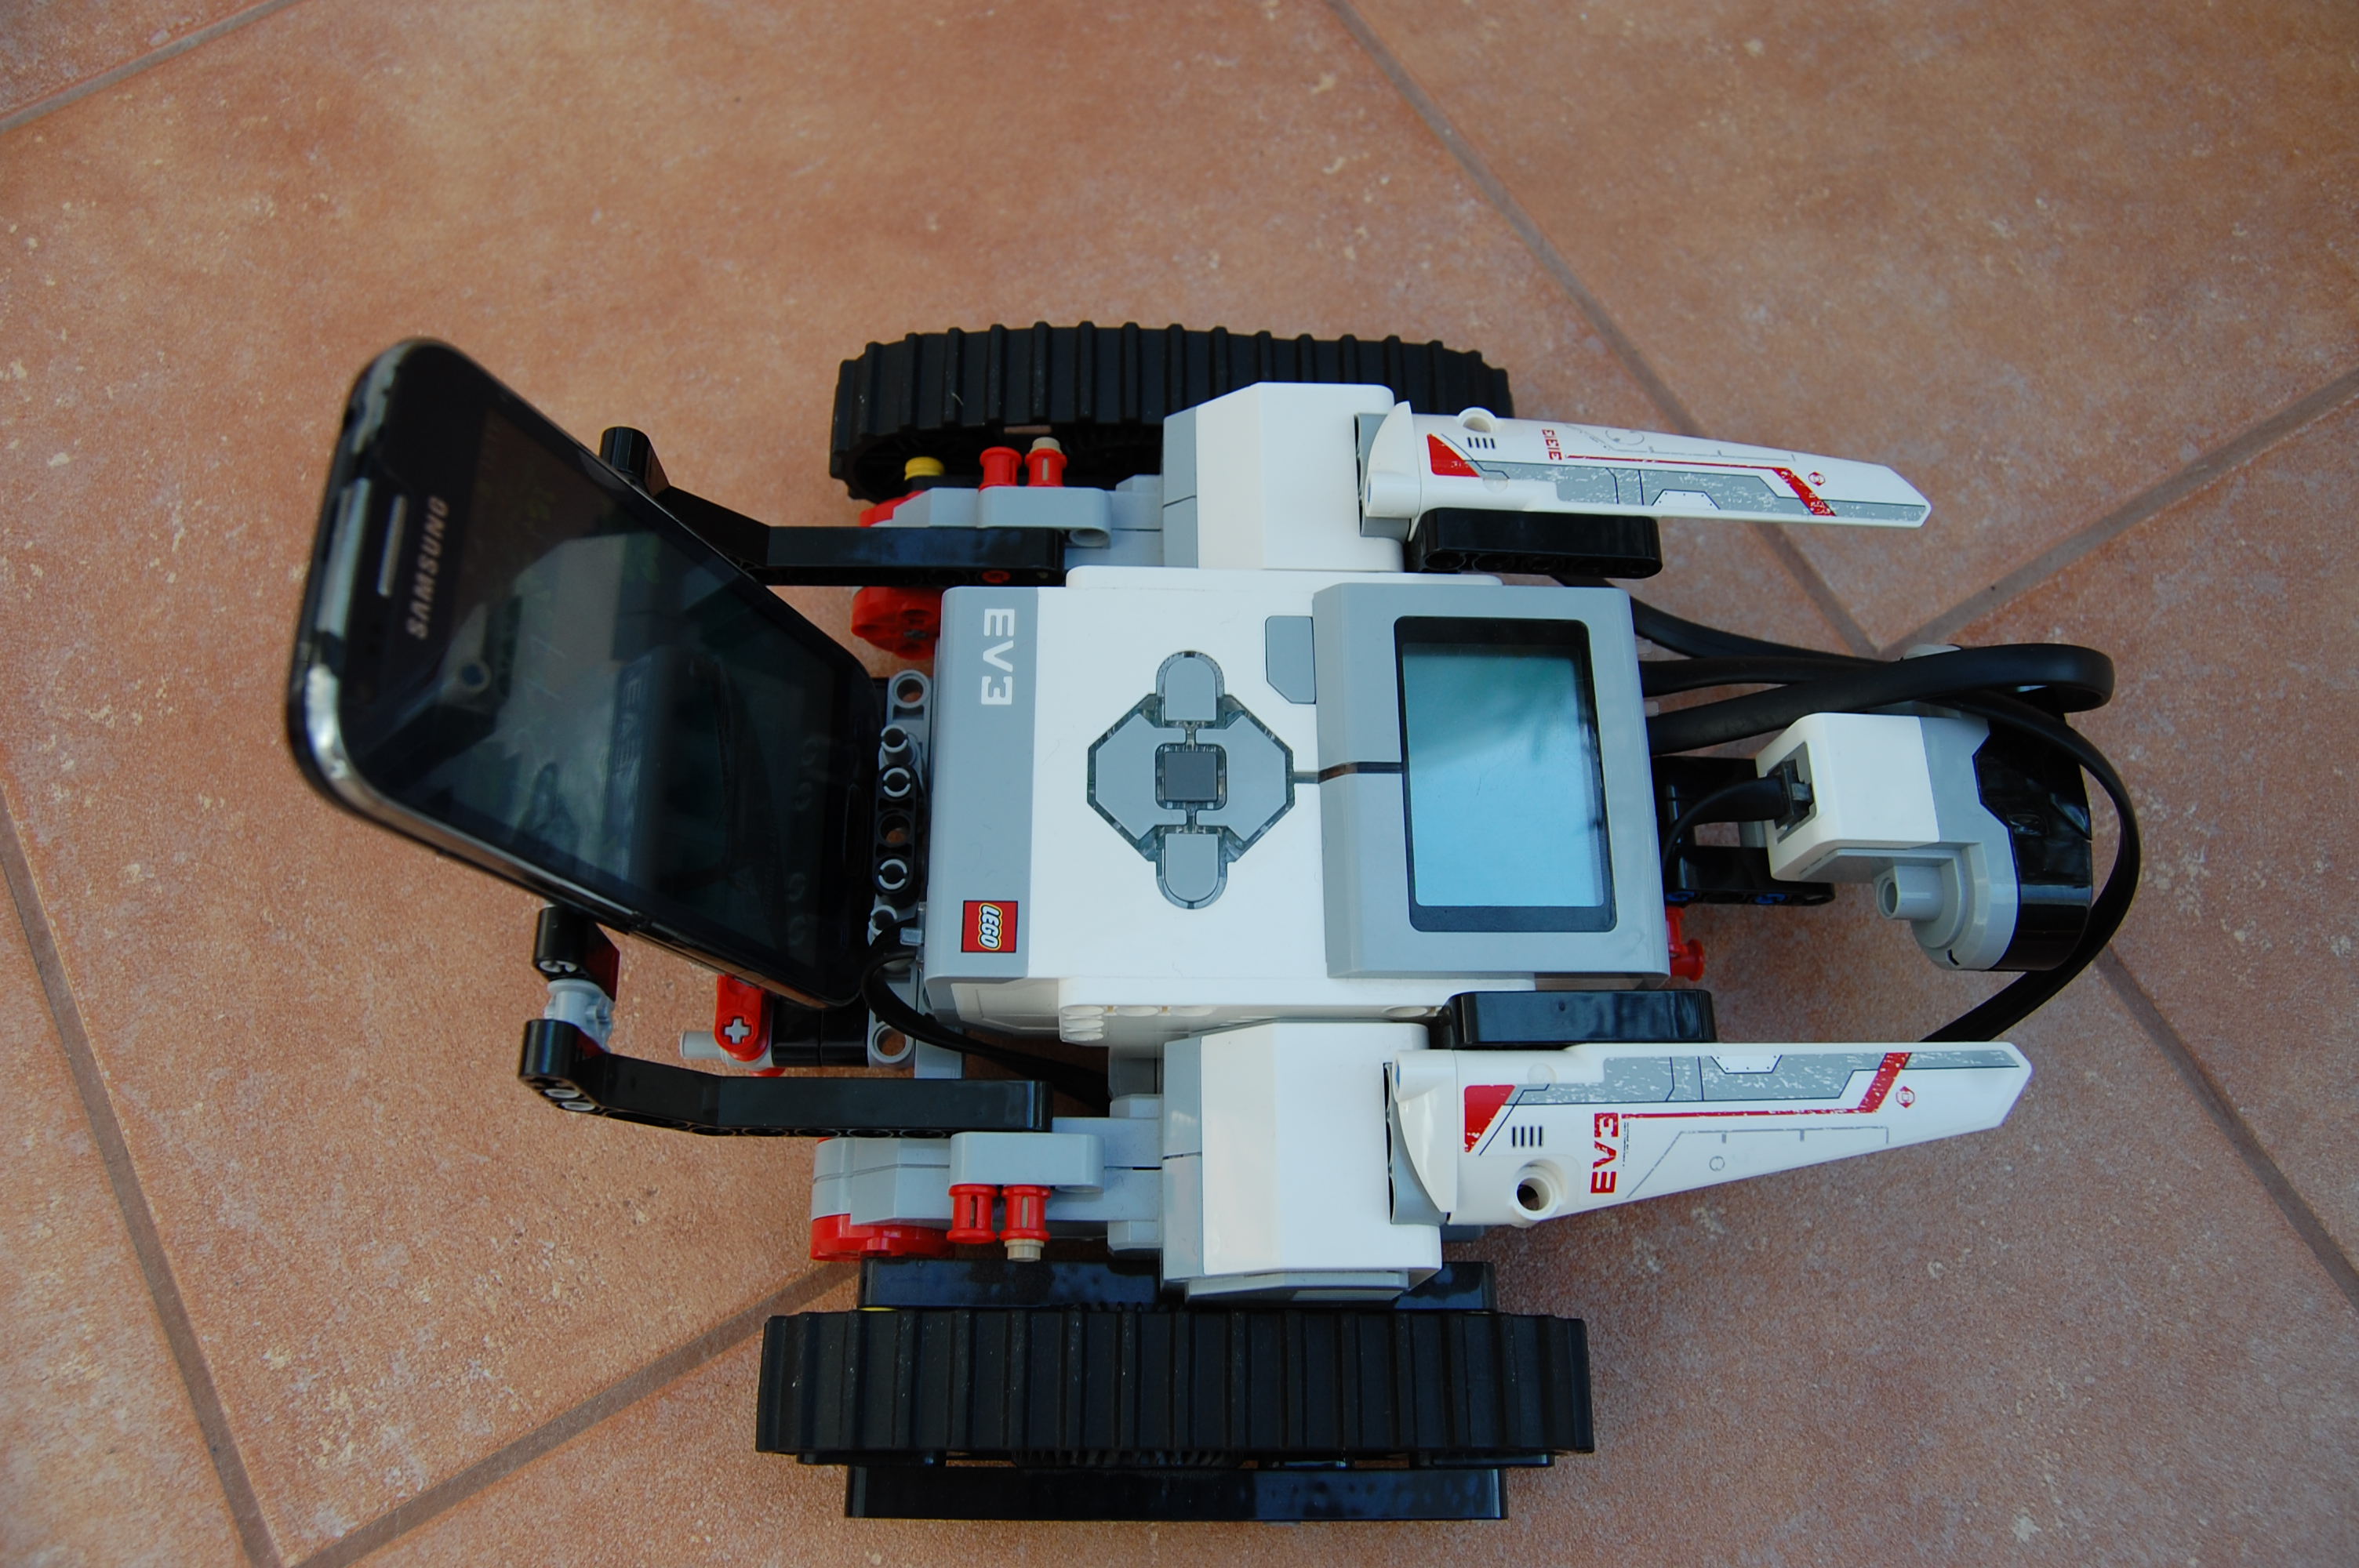
Formerly I used Tribot, one of the sample robots from the NXT set. I slightly modified it to contain a slot for the mobile phone. I follow the same route here: as our demo is mainly focusing on software the exact structure of the robot is still not important. We have built the TRACK3R robot (my son did it to be accurate) and I changed the tool in the front to a simple phone holder.

If someone wants to interact with EV3 then she needs to communicate with the robot via USB cable, Wi-Fi, or Bluetooth. EV3 has its own language of commands, these commands should be sent over the communication channel to the robot. In case of NXT I used an Android application, MINDdroid developed by LEGO to communicate. MINDdroid contains all those direct commands that are necessary to move my robot.
The problem with MINDdroid is that it has no newer version so it does not support EV3. Furthermore I have not found any suitable application for EV3 direct command handling for Android. Anders from Denmark has done a good job with his MonoBrick and Brian Peek's work is also worth to mention LEGO MINDSTORMS EV3 API but both are written in C# and I prefer a Java solution. Although it is possible to develop a module in Java for EV3 direct commands using the specification given by LEGO but I did not want to build from scratch.
LeJOS
So I decided to use LeJOS, Java for LEGO Mindstorms. This is a mature and continuously developed firmware for Mindstorms, even for EV3. The drawback of the approach is that I had to replace the OS of the robot to the tiny Java Virtual Machine of LeJOS. Since I did not want to make irreversible changes on my brick it was fortunate that LeJOS is bootable from and SD card and after removing the card and rebooting the robot behaves as before with its original software.
I have installed LeJOS to a 2GB SD card using this tutorial under Ubuntu 16.04 using
- the latest LeJOS (0.9.1-beta), and
- Java for LEGO® Mindstorms® EV3 (version 7 Update 60).
and the following commands (assuming that the SD card is /dev/mmcblk0 and mounted as /media/rics/SD500):
<LeJOS unzip folder>$ sudo dd if=sd500.img of=/dev/mmcblk0
<LeJOS unzip folder>$ sudo unzip lejosimage.zip -d /media/rics/SD500
<LeJOS unzip folder>$ sudo cp ~/lego_ev3/downloads/ejre-7u60-fcs-b19-linux-arm-sflt-headless-07_may_2014.tar.gz /media/rics/SD500
After the above configuration and booting the SD card in EV3 LeJOS started to configure itself and it froze. I have tried several different ways without success. The only thing that helped is to change the SD card to another one (SanDisk 8GB). The above process worked for the first time with the new card. The original 2GB card is still working correctly in another device so it was not a hardware but the sensibility of LeJOS instead.
Given that the LeJOS has been installed on EV3 I needed a program running on the robot that receives movement commands from an Android phone and directs the robot accordingly. First of all the robot needs to communicate over a network with its peer. There are several ways to this with LeJOS as it is described here. This network could be created using direct cable (with the desktop), Wi-Fi, Bluetooth. For Wi-Fi we need a dongle but Bluetooth is a built-in capability. The most promising way is Bluetooth in this project because I did not want an extra cable or component.
Although the main goal is phone-robot communication but during development it is good to have a functional desktop-robot connection. The first two methods worked with the desktop but I cannot make Bluetooth work with Ubuntu 16.04 because of - I guess - some Bluetooth version incompatibility. On the other hand both Wi-Fi and Bluetooth are working with Android.
For this program I have followed Peter Mitrano's approach from his EV3 grid navigation project. The program communicates with the phone via a socket, the server is on the phone. To connect the two devices they must be on the same network. The network could be served by the Wi-Fi router of the house or the Bluetooth PAN created by LeJOS itself running on the brick.
After the socket communication has been established with the other party the robot receives double values
via the DataInputStream of the Socket. The values are in the [-0.5,0.5] interval.
0 means that the robot needs to move straight while -0.5 and 0.5 are
the biggest possible turn to the left and the right, respectively.
An extreme value (below -50) is sent when there is now blue patch found in the vision of the camera to make the robot stop.
Interesting to note that left and right motor movements are synchronized otherwise the motors start and stop in different phases that would result invalid direction selection. Motor synchronization is described here in detail.
This is the relevant code the governs the movement of the robot:
The complete program developed in Netbeans can be found here.
The phone side of the application follows the way Mitrano connects to his LeJOS.
The program does not know anything about LeJOS. It only
opens the ServerSocket in a background thread waiting for the robot to connect and then sends
the double directing values based on the observed image.
The current IP address of the phone is also displayed because this IP has to be set on the robot's side.
It is good to know that for network communication the program must have INTERNET permission and for image handling it must have CAMERA permission as well. So far I did not implement the new permission handling introduced with Android 6 because my phone is an older version. The complete program - including OpenCV components described below - can be downloaded from here.
Determining the direction to follow is based on the central point of a blue ball as recognized my the camera of the phone. For processing the image I used OpenCV.
OpenCV configuration
Installing OpenCV is a complex process in general. In case of Android development with OpenCV in Android Studio we need to follow a different path but it is still not simple. The main steps are the following:
- Downloading OpenCV for Android
- Importing OpenCV as a module to an existing application.
- Adding OpenCV as a dependency.
- A special step: Eliminating
Camera2Renderercode and references because it uses Camera2 API introduced in Android 5.0 what is not supported by my phone.
Then it is up to the developer to decide whether to link all OpenCV code to the application or to use OpenCV Manager application
to the dynamic OpenCV loading during the execution.
In the former case it is necessary to copy the content of native OpenCV directory (/sdk/native/libs)
to the project's OpenCVLibrary under src/main
and then to rename the copy from libs to jniLibs.
In the latter case OpenCV Manager downloads/refreshes every necessary OpenCV component on the fly. Furthermore if there are more than
one installed OpenCV application then these components are stored in one copy only.
The application is much larger with statically linked OpenCV (~40 MB plus) and the build folder grows enormously, be prepared for gigabytes! On the other hand the application does not depend on other programs to be installed on the device.
Using OpenCV Manager is better in this case as the result is smaller and the build process is much quicker. However at this moment OpenCV Manager at Google Play is obsolete and contains OpenCV 3.0. As I use OpenCV 3.2.0 I need the latest OpenCV Manager that can be found in the OpenCV for Android package above. A drawback is that you have to choose the appropriate apk file that suits your device.
OpenCV usage
Either use OpenCV Manager or not both cases can be handled programmatically with the following code. The onResume method loads
OpenCV either from the application or via OpenCVLoader. The LoaderCallbackInterface.SUCCESS branch
of the onManagerConnected is where we can start using OpenCV functions.
After initializing OpenCV we can use it. For this task I wanted to find the
center of mass of the pixels belonging to a blue ball on the image of the camera.
I have based my code on the
color blob detector sample
included in the OpenCV for Android installation. The main part of the detection can be seen below. The rgbaImage
is first downsampled with image pyramid and then converted to HSV color space. After that inRange detects
the appropriate colored pixels based on the bound constants. Then findContours create a list of detected contour
and contourArea finds the largest one. Finally getCenterOfMaxContour returns
the center of mass of the maximal contour using moments.
Turning direction is then determined from the x coordinates of the center related to the central point of the image.
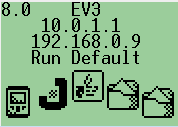
As every component is ready I start the EV3 with LeJOS and execute the EV3DroidCVClient program on the robot. The IP address of the phone that the robot will look for can be set on the configuration display. Left and right buttons choose between the Bluetooth and the Wi-Fi domain (10.0.1.* and 192.168.0.* addresses respectively) while up and down buttons select an address from the given domain. Usually I connect my phone via Bluetooth to the robot, which means the EV3 has the IP address 10.0.1.1 and gives 10.0.1.2 to the phone.
Then I start the EV3DroidCV application on the phone, finally click Enter on the robot to start communicating and moving. The following video shows how the robot works.
This is what the camera sees from inside. (The video was generated from a set of images taken during run.)

I know that it is still a simple demo but there is a lot of work getting all the components work together. This project can be a good starting point for similar robot+phone applications.