Components
Integrating useful things to develop some new stuff is a fun. As robot technology and do-it-yourself tools are booming there are several good possibilities to do that. What I have chosen is to connect 3 stand-alone tools together: a LEGO Mindstorms NXT robot, Android programming, and OpenCV computer vision library. This way the NXT robot packed with the mobile phone becomes autonomous as it is driven by the camera images. Let's see these elements one-by-one and then what they are good for together.
 |
+ | + | ||
| = | ||||
| MINDdroidCV | ||||
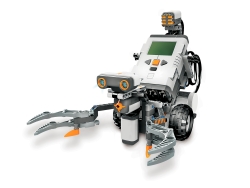
The LEGO Mindstorms NXT kit
LEGO Mindstorms NXT is more than a decade old toy for kids (and for their fathers) love to build electronic and (semi-)automatic gadgets. The NXT kit is the top predator in the LEGO family that includes common Technics elements and central brick with some motors and some sensors in different modalities. A good overview of the kit can be found at LEGO pages and here are my former experiences (in Hungarian).
Although NXT has its own weaknesses there are fantastic things that can be done with it. The internet is full of nice NXT projects, some of them are extremely professional. Just to name a few: an amusement park, Delta robots, a sudoku solver, and a Segway can be seen on the videos below.
Android programming environment
Android is all around the tech news so I do not think that a long introduction of it is necessary. Google's operating system for mobile devices has started to monopolize the market: powerful, android-based mobile phones and tablets are affordable for the masses. Being an open platform, Android is ideal for developers as well, nice applications can be implemented using cute elements of mobile devices like GPS, compass, accelerometer, gyroscope, and what is more the camera.
For a robot enthusiast buying these sensors one by one can be expensive and integrating them to the main system is generally more complex than using a feature-rich, programmable mobile phone for the task at hand. Since a smartphone has much more computational power than a simple embedded processor it can even be the central unit of our robot. Some example robots using an Android phone for sensing or control can be found here: TRRSTAN, the cellbot, a bluetooth controlled model car.
Naturally NXT can also be controlled via an Android phone. LEGO has created an application for this reason: MINDdroid, that works well with some example robots like Shooterbot, Tribot, Robogator. Playing with this program is a fun because instead of a joystick you can tilt and turn your phone to make the robot move forward and turn to the side. Source code of the program is downloadable from here.
The OpenCV computer vision library
The popularity of image processing is continuously increasing as more and more digital cameras are available to the general public and the computational power behind cameras is becoming larger. There are several computer vision and digital image processing libraries for lots of modern languages. A list of them with short explanations can be found here.
OpenCV is just one of such libraries written for C by Intel and
then supported and rewritten for C++ since
version 2 by WillowGarage.
The library has more than 500 complex functions including
segmentation, tracking, image transformations, feature detection, and
machine learning. It is available for development for Unix and
Windows.
A nice example of ball detection in OpenCV can be
found here. The
tutorial contains the full source code, the results can be seen in
the left video.
Luckily, in connection with the scope of our description OpenCV can be used for Android as well. The following video on the right has been created with a previous OpenCV version.
Putting it altogether
So far we saw that Android can work with LEGO Mindstorms NXT and
image processing algorithms using OpenCV can be deployed to an Android
environment.
My idea was to connect these three components together to let the NXT robot
"see" the world around. So I just wanted to create an Android
program that processes camera images with OpenCV and commands the
moves of the robot using the results of the procession.
|
|
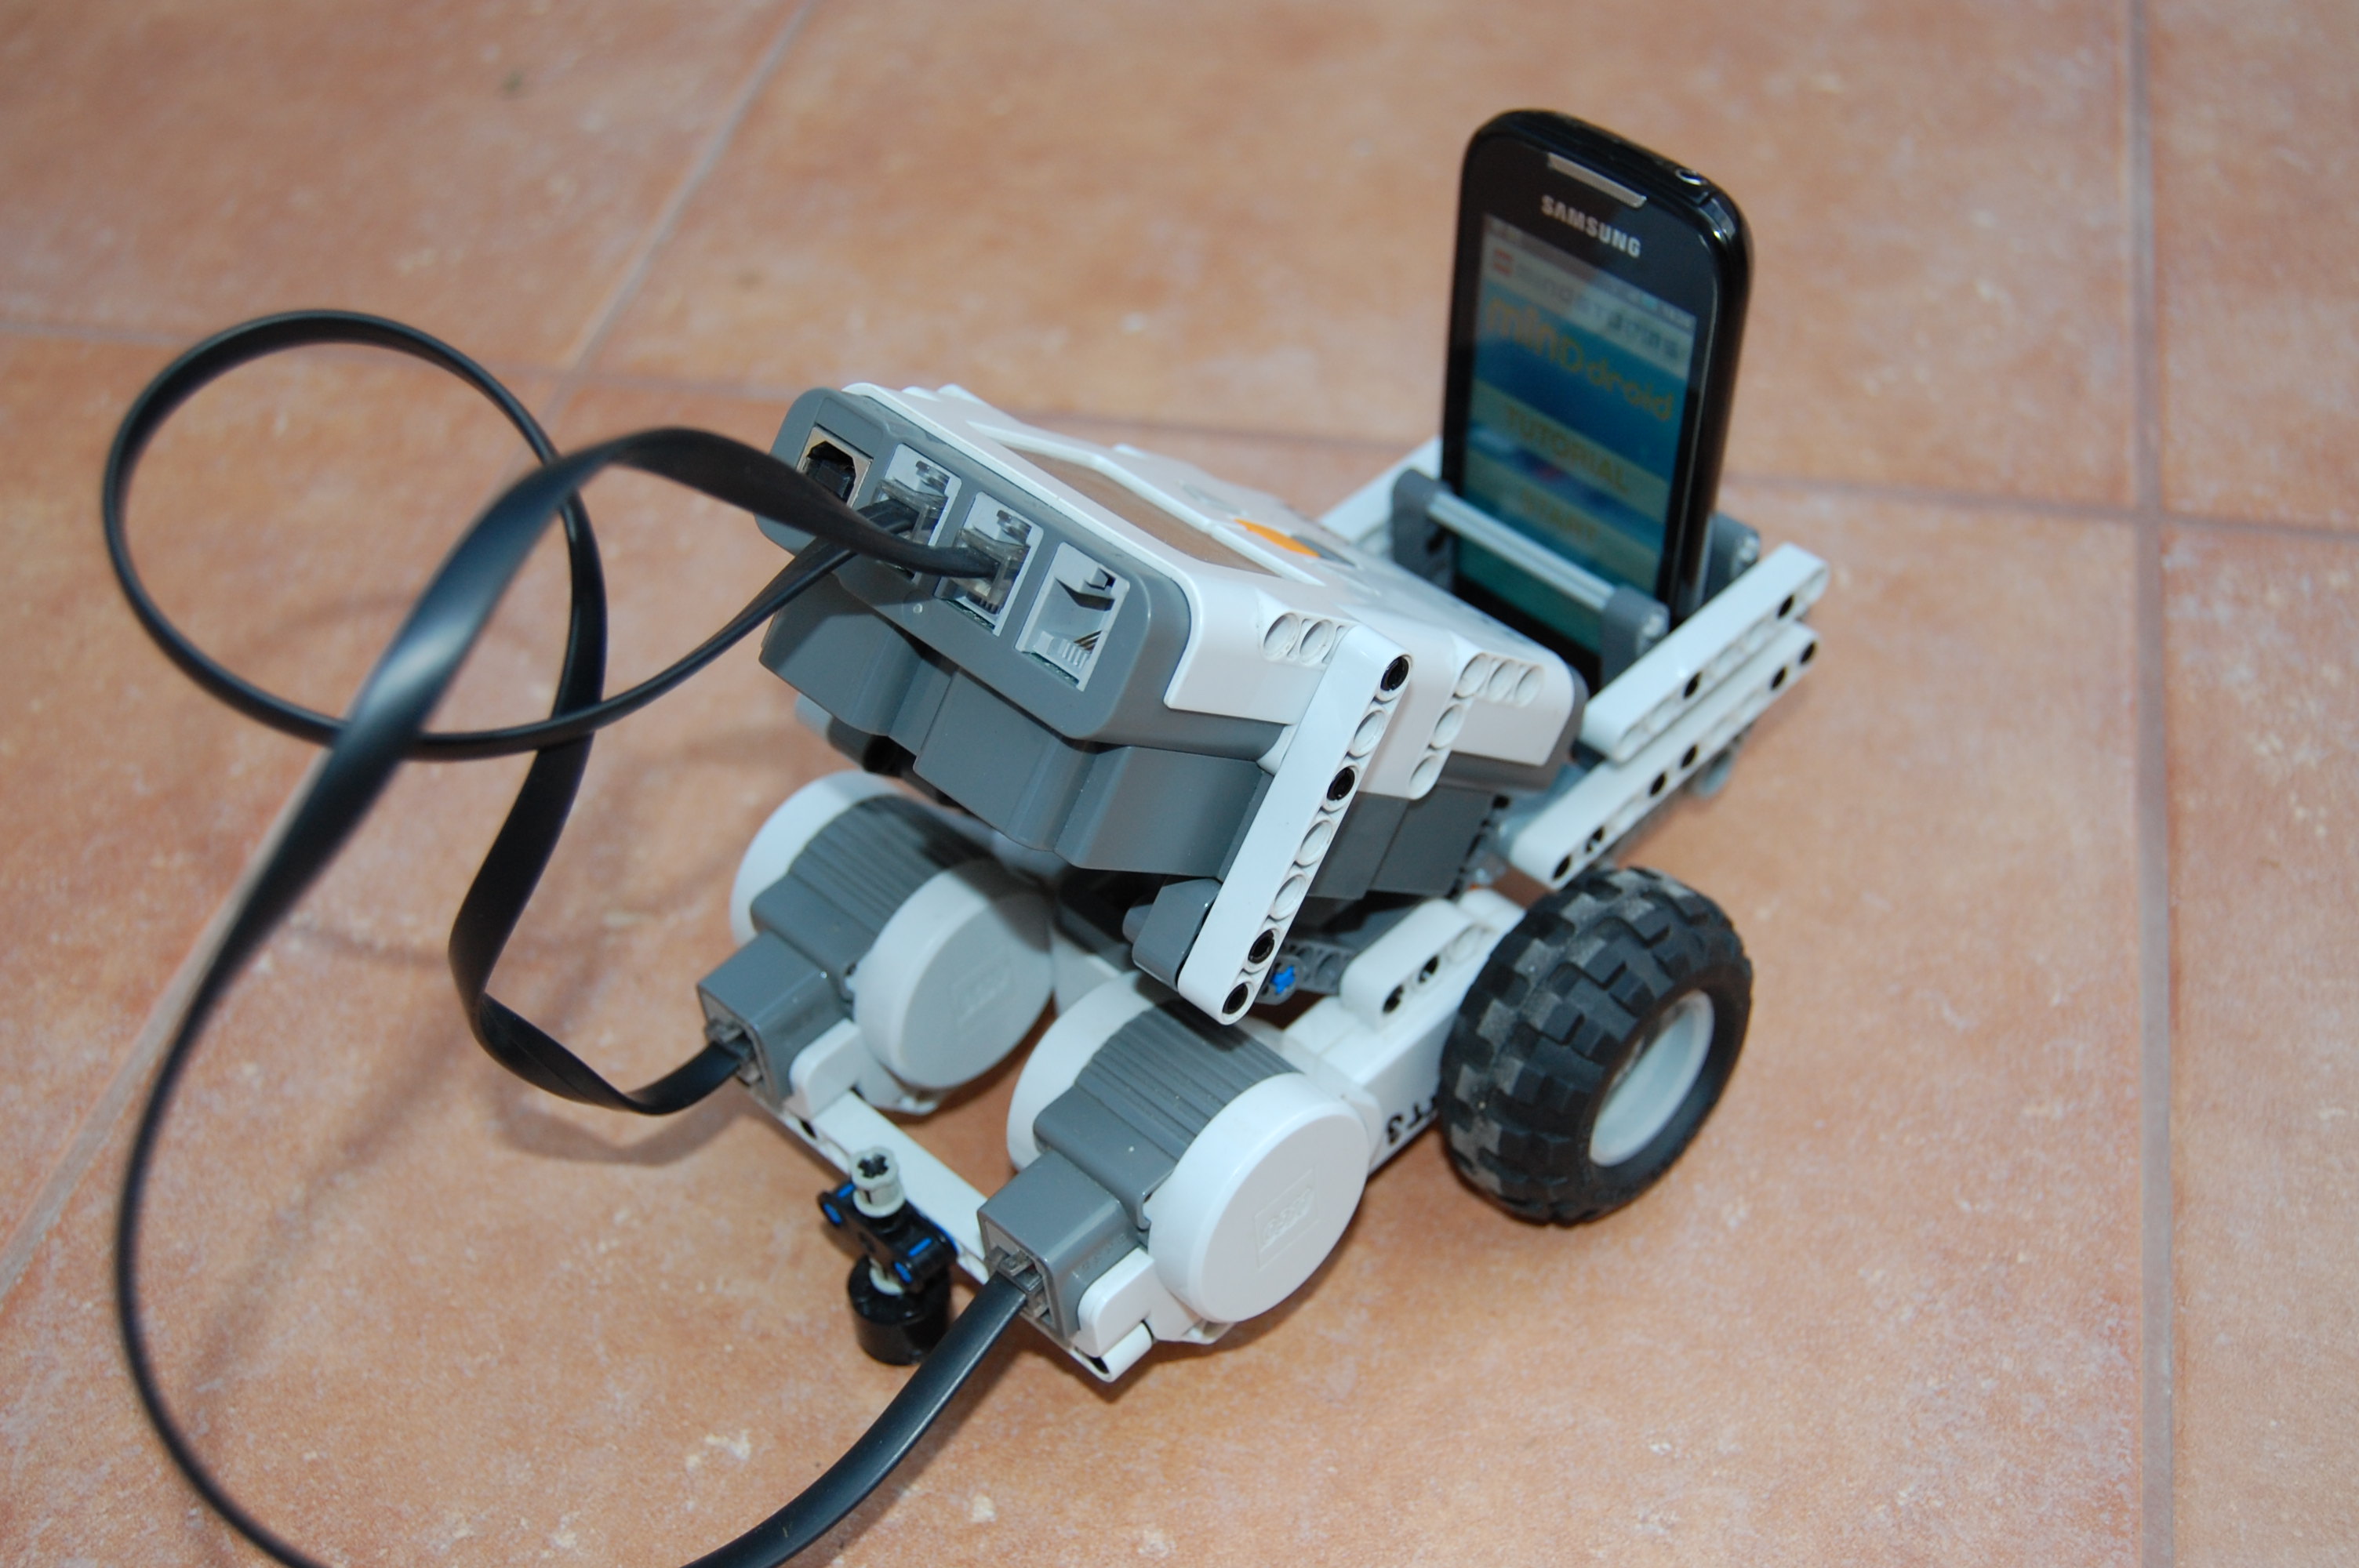
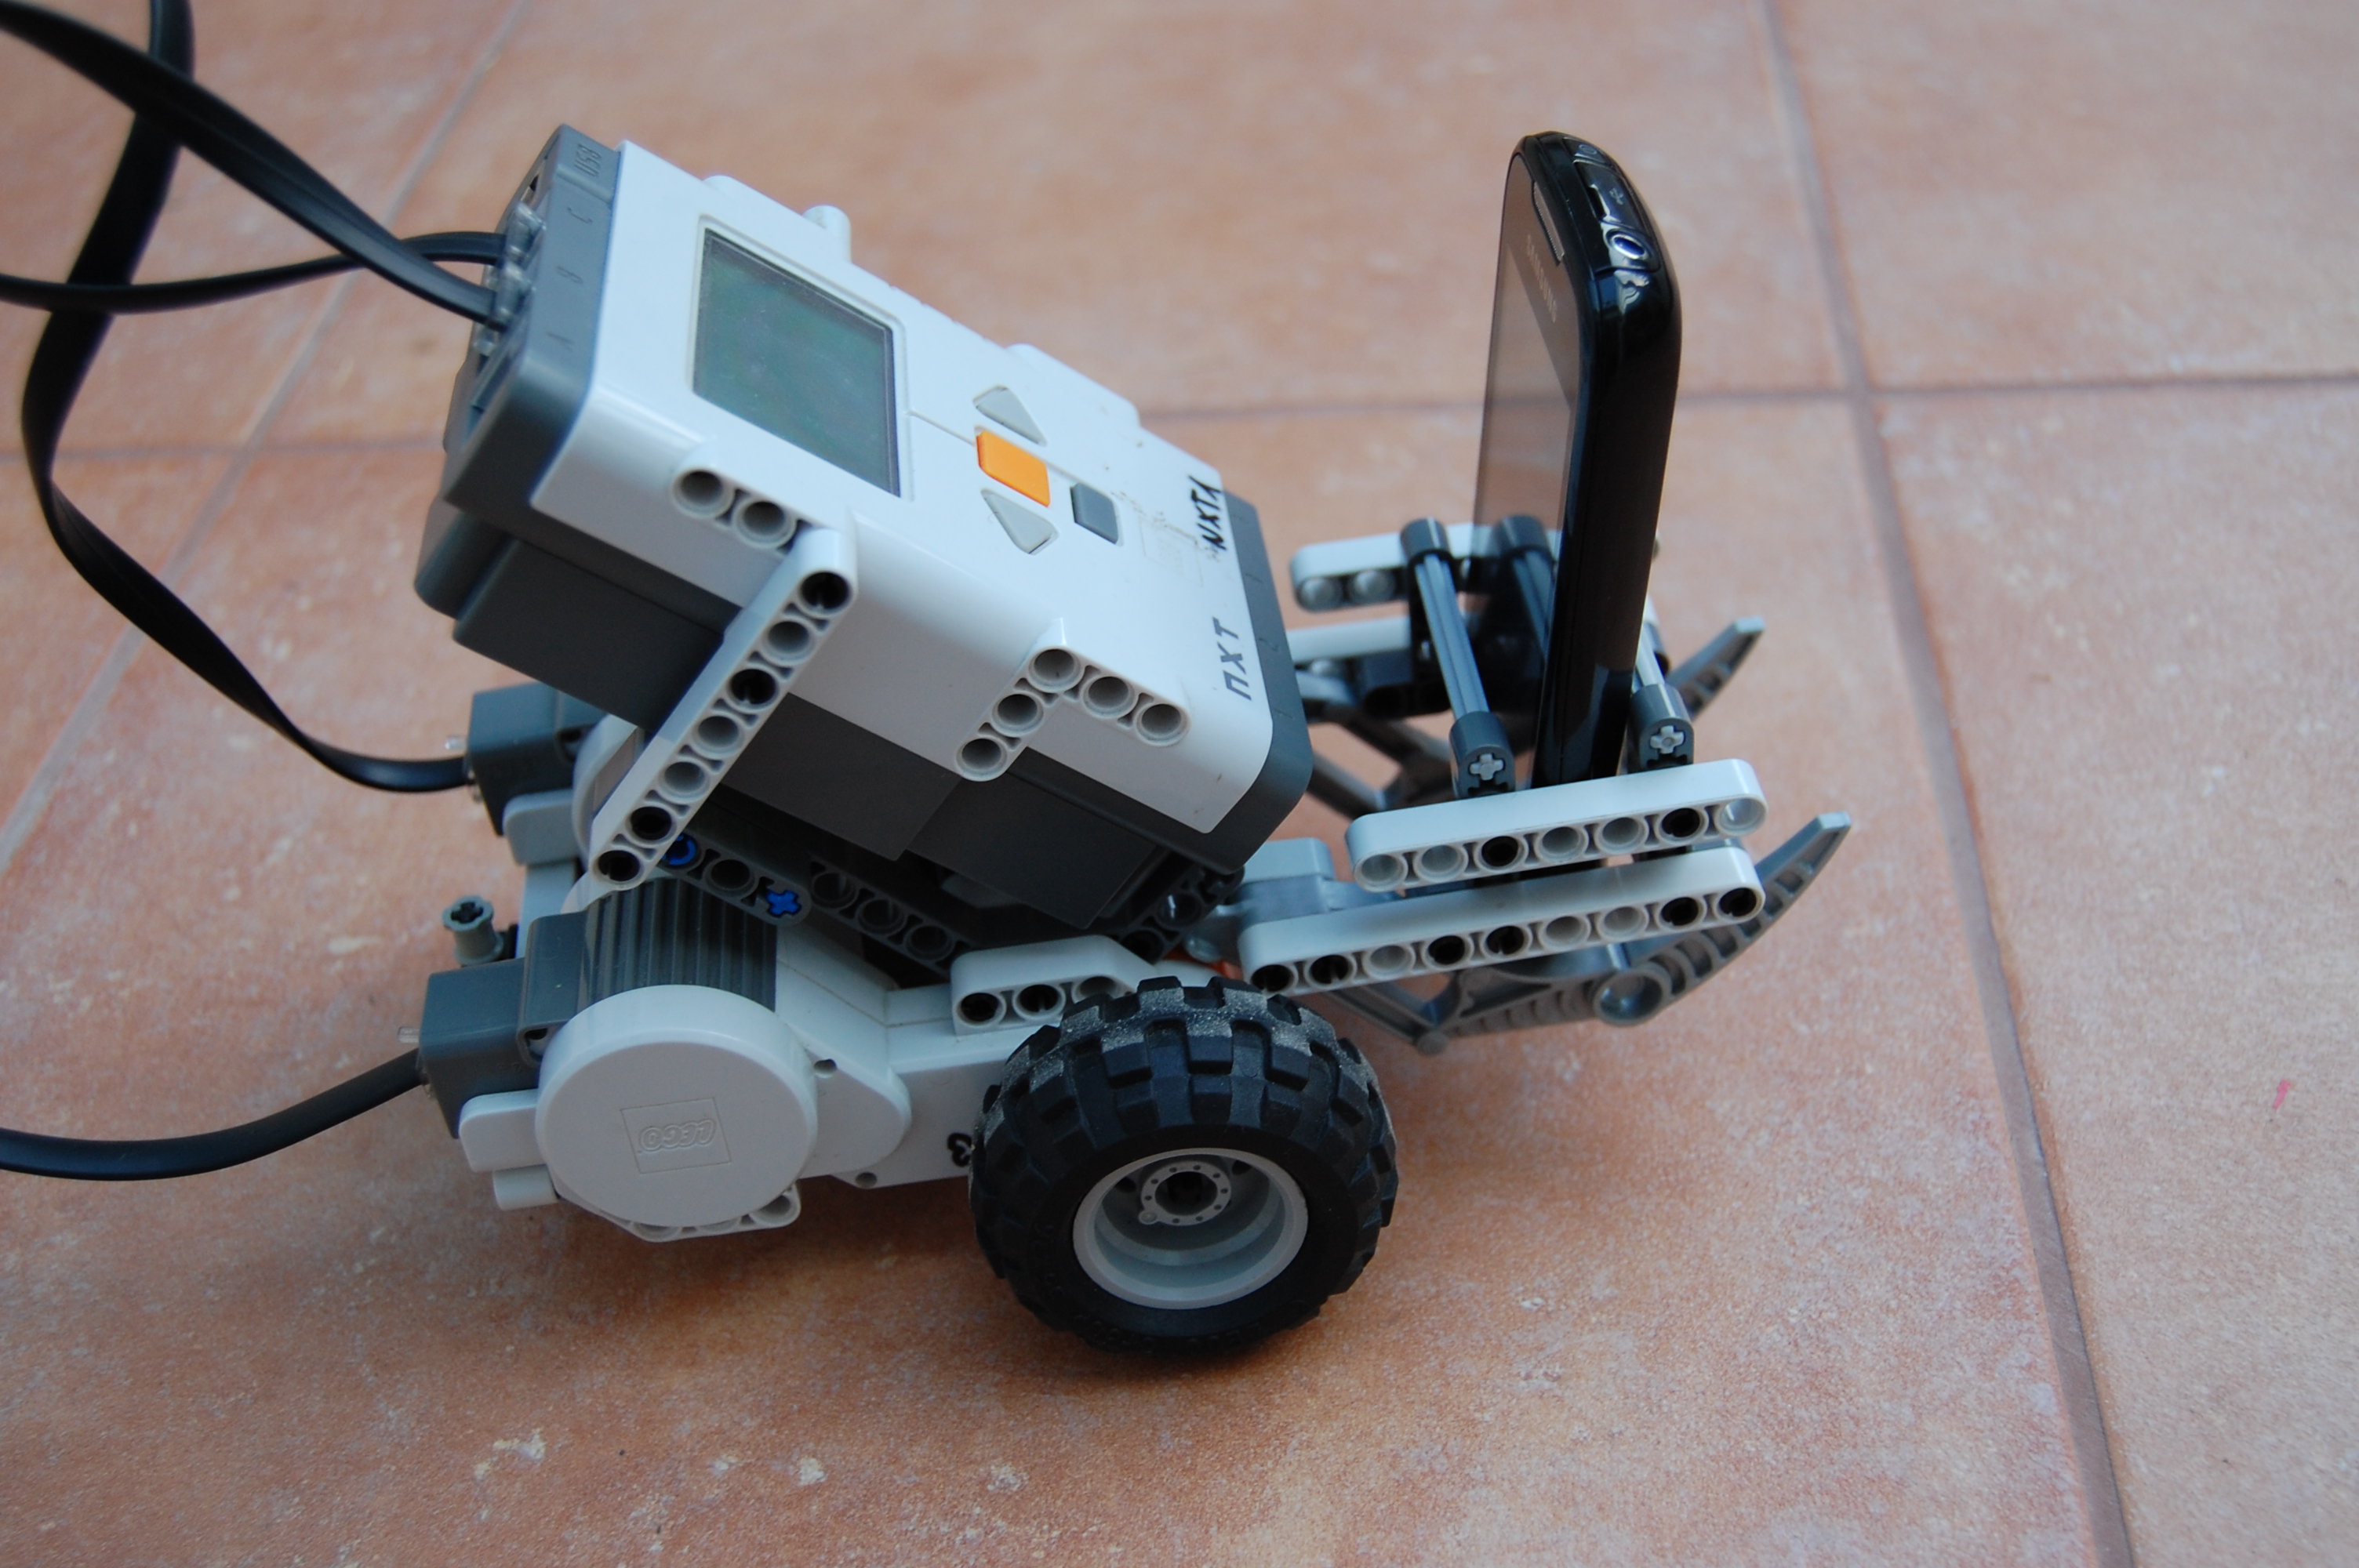
My first application is relatively simple the primary goal was to make
the toolchain work. In this case a Samsung Galaxy 3 mobile phone is
placed on a two-wheeled simple robot derived
from TriBot. The
robot is searching for light in the environment and is turning to
directions of brighter blobs. This behavior resembles a light
following Braitenberg
vehicle.
To connect the robot with the phone I have used the Bluetooth capabilities of the NXT brick. For this reason the Bluetooth has to be switched on on the robot side and no other program needs to be run. In this remote mode the robot receives direct movement commands from the phone's MINDdroid application.
Compiling an OpenCV application for Android
Java
Although the process of building and deploying OpenCV programs to Android becomes simpler related to previous versions it still involves many steps. The first part of the building instructions can be found here.
- Without going into the details first of all we have to install a Java Development Kit (JDK) version 6.
- JDK 6 is needed by the Android SDK, the development environment for Android programs.
- It is important to note that the whole process is working from
Android 2.2 (Froyo). My Galaxy 3 was shipped with Android 2.1
(Eclair), so I upgraded to 2.2 first.
From the software side we need to install Android SDK tools and SDK Platform Android 2.2 as well. - Although it is possible to work without Eclipse and connect Android and OpenCV, this is not the recommended way. So I have used the latest Eclipse version, 3.7 a.k.a Indigo.
- The next step is to enable Android development in Eclipse with the Android Development tools (ADT) plug-in.
- Since OpenCV 2.3.1 is packed as a ready-for-use Android Library Project. It means that after the configurations above basic samples from the project can be built and deployed to an Android 2.2 phone.
C++
Now are we ready to develop OpenCV applications on Android?
Partly.
It is possible to use OpenCV's Java classes and implement image
processing in Java. However if we do not want to rewrite our older C/C++
code in Java and/or we want to go to native level for performance
reasons then we should continue the configuration
with this
tutorial.
Although I do not want to reuse huge files of existing algorithms but it
seems natural to have my own C++ code base of image processing that
could be used on different platforms in the future. Consequently I have
configured Eclipse to build C++ code to Android.
- First of all Android Native Development Kit (NDK) needs to be installed.
- Then it has to be connected to Eclipse by adding a new Builder to our project that uses the NDK. Not surprisingly the location of our C++ codes and build directories has to be set in advance.
The tutorials are accurate and detailed but I still do not say that the whole configuration is simple, I must admit that
I have also stuck at some points. One problem was that in
the Application.mk file the value of APP_ABI
(the processor type of my phone)
was armeabi-v7a instead of the
necessary armeabi. Fortunately I have got quick help from
OpenCV's
Google group.
Anyway the current OpenCV version came out in August 2011 so the
configuration process may become simpler with newer versions.
Update:
Android Library project handling has been changed with the Android SDK
revision 14 since October 2011.
So after an update of the SDK to newer version than revision 13 the
Android Development Tool plug-in needs to be updated in Eclipse as
well.
After that the compilation does not work as before because it requires OpenCV-2.3.1.jar in the OpenCV Library Project folder. During the recompilation of OpenCV this jar is generated however building the application is still not possible. So in the application project I had to check for the linked source folders pointing to the OpenCV Library Projects (named to "OpenCV-2.3.1_src" as I remember well). Then after a right click I had to remove it ("Build Path"->"Remove from Build Path") with the option "Also unlink the folder from the project".
The compilation is possible from now on.
MINDdroidCV: Extending MINDdroid with OpenCV code
Embedding
Since I can build native OpenCV Android applications and NXT Android application, I could connect these two together. My starting point was the MINDdroid program and I have added the necessary elements from OpenCV sample 3 to include native OpenCV code. The name of the new project is MINDdroidCV (the name of the main class and references to it has been modified accordingly).
MINDdroid - the original LEGO program - can command different robot types. As I wanted to keep
original functionality I have included a new robot type, named
OpenCV vehicle that do not interfere with the original code. It
means the modification of options.xml and Options.java as
well.
I have added android.library.reference.1
to build.properties (in the project's root folder)
referring to the location of OpenCV-2.3.1. I also modified
AndroidManifest.xml to request permission from the hosting phone for
camera usage: <uses-permission android:name="android.permission.CAMERA"/>.
Here comes the inclusion of the C++ code. I have followed the steps of
the tutorials in the MINDdroidCV project and then I have added the jni
directory from sample 3.
In Application.mk I have changed the value
of APP_ABI as above. In Android.mk I have
included OpenCV-2.3.1/share/OpenCV/OpenCV.mk.
Up to this point native OpenCV is added to MINDdroidCV. What we have
left is to write an appropriate OpenCV function in jni_part.cpp and
to refer it from Java. For the latter task I have copied
SampleViewBase.java and Sample3View.java from sample 3 project (I
have renamed Sample3View to SampleView to avoid confusions).
To make SampleView and its
parent SampleViewBase reachable from the main
program the onCreate method
of MINDdroidCV is extended with the first part of the
following condition.
It means that after choosing OpenCV vehicle robot
type SampleView gets in command. It can
handle the display and it can call updateMotorControl(int
left, int right) from MINDdroidCV to control
the robot's movement. (All other references to mView became
protected with a null pointer check.)
To avoid the screen sleep after a certain timeout
the FLAG_KEEP_SCREEN_ON flag is added to the window.
I have also changed the MINDdroidCV activity
in AndroidManifest.xml. The phone will be installed on
the robot in a standing pose but the image is rotated with 90
degrees (I could not figure out why) so the following lines are important if we want to
see the resulting image oriented correctly.
Calling C++ code from Java is fairly straightforward. In SampleView I have modified the native reference to this code:
The static part means that the program
loads mixed_sample library (this name must appear as
LOCAL_MODULE in Android.mk) during the
load of SampleView.
The FindLight method is defined as native (since it is
written in C++) and has the following parameters: image width and
height, the input image as byte array
(yuv), the output image as int
array (rgba) and a double array that will
be used to determine color direction.
From the C++ side in jni_part.cpp the function
definition is the following:
The function declaration is in accordance
with Java
Native Interface definitions.
The name reflects that it will be called
from com.lego.minddroid.SampleView class and our
parameters preceded by two mandatory parameters: env
and thiz. Java types are mapped to appropriate C++ types
(ARGB stored in java as int array becomes BGRA at native level).
Now we are ready to write the FindLight function in C++
using the OpenCV library.
The OpenCV code
What is the task of the image processing?
To determine if image pixels are as bright as the light of a torch.
This problem is solved with a few lines of code.
First of all the C++ code will convert the YUV image to BGRA and then to HSV because this color space is more practical in case of color detection then other color spaces. (May be it can be done in one step but I have not found any references on YUV to HSV conversion.) Each pixel of the HSV image will be checked if it is inside a certain color range that matches the color of the torchlight. All pixels in the resulting image will be set to 1 if there is a light at that location and to 0 otherwise. The position of the light area inside the image is reported as well.
According to the function call above the C++ code receives a byte
array that contains the current camera image
in YUV420
format, an int array for the resulting image
in BGRA
format, and finally a double array for light location values. The first
step is to use these parameters from the C++ appropriately. This
is done by the following code:
Now the image arrays can be converted to Mat matrices what is the most important
datatype in OpenCV. For this reason the width and the height
parameters determine the dimensions of the images.
Using height + height/2 for image height in case of
YUV seems a bit strange but this is how it has to be done with
the YUV420
compression.
The YUV image is converted to HSV color space in two steps
using cvtColor OpenCV function and then the mhsv matrix holds the new
image.
Here comes the color calculation.
The inRange OpenCV function can determine if the pixels
of an image are between two scalars. The result is stored in a
one-channel matrix with the same size as the input image.
The new one-channel matrix (mdetect) is
created to store the 1s and the 0s of torch light
locations. lightLower and lightUpper are
the limiting 3 dimensional scalars for the range checking.
Since this scalars are used on mhsv (a HSV image) the 3 channels are
interpreted as hue, saturation, and value. Each
channel in mhsv are stored on 1 byte
(see CV_8UC4 in the definition) so constant values can
be in the 0 and 255 range.
How to define bright light using these three channels?
The predefined numbers in the following code mean that hue of the pixel is unimportant as all possible values
between 0 and 255 are in range so white, red, and blue bright lights
are all acceptable. However small saturation (between 0
and 10) and high value (between 220 and 255) are
requested which means that the color intensity of the checked pixel
is low while its brightness is high so pale, bright light pixels are
searched for.
Then inRange uses these scalars to
store torchlight pixels in mdetect. Finally this
1-channel image is converted back to 4-channel BGRA image and the
result is stored in the mbgra function parameter for
further usage on the Java side.
It is not enough to know that there is a certain light patch on
the scene but the patch location related to the robot is also
important. This calculation can be done
using image
moments that is behind the moments OpenCV function.
Although the definition of moments may look frightening, it is enough
to know that m00 is the whole area of nonzero pixels in an image
and m10/m00 and m01/m00 gives the mean of
nonzero pixels in x and y directions. Hence moment calculation and
returning its results in the parameter array is the following:
What is left here is to clean up the scene: allocated matrices and function parameters are released:
The FindLight function is ready for use on the Java
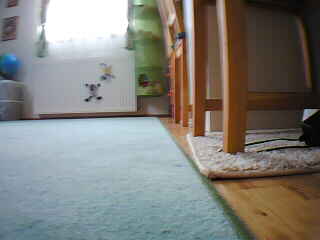
side. Running the code on the following images (upper row) the Sun shining through
the window is visibly detected as light (lower row).
|
|

|

|
Using image data and robot control
Turning back to the Java side let's see how the image processing can be used to let the robot follow the light.
The FindLight function is called
from SampleView in the following way:
After each call rgba stores the calculated light image and first three
elements of buffer contain light location information.
It is not necessary to show the calculated light image but it is useful to know why the robot moves into
a certain direction. So rgba is converted to
a Bitmap in SampleView (see below) and then the
bitmap is drawn on the canvas of the surfaceholder in the run method
of SampleViewBase.
The navigation of the robot is performed
in calculateMove of SampleViewBase. If
there is not enough light (the 0th buffer value is below 100) then
the robot stops. Otherwise the second coordinate of light blob is
used to calculate horizontal direction based on the patch distance from the central line what is
the current heading of the robot. Then two simple linear equations
determine the left and the right motor
speeds. Finally updateMotorControl is called with these
intensity values.
We are ready!
The calculateMove method is called from run method
of SampleViewBase and continuously updates the robot
position based on the light in the environment.
Results
As you can see in the following video the robot is running appropriately. It turns into the direction of the light and stops in case of dark.
It is useful to note that the image processing presented here cannot be used in real world applications since the model is oversimplified. I have changed the lighting conditions to not let the robot disturbed by direct sunlight from the window or by bright blobs reflected on the floor. In the first part of the video you can see that once the robot did not respond to the torch light because sun was shining through the window and it was more interesting.
At some points the code or the integration can be simpler but this is
how it worked for me so I have stayed with that.
The most problematic part was to call the FindLight with
appropriate matrices and to handle them correctly on both
sides. Furthermore I still have issues with the image orientation.
Other elements were working quite quickly.
In summary I encourage you to use my results and build on top of it.
Project source can be downloaded
from here or
from this
github repository. If
you want to try the program without browsing the source you can
download the binary version that was working on my Galaxy 3 (ARM6
processor) and the one that hopefully works on ARM7 processors (If you
try the latter one please let me know the results).
All constructive comments are welcome at
richard_szabo@nospam.invitel.hu (delete nospam).
My other robotics pages can be
found here. They are mostly in
Hungarian but I am trying to be multi-lingual.
I thank Zoltán Istenes for lending me the NXT brick for this project.
Copyright © Szabó Richárd
Courtesy Open Web Design![]() Thanks
to Florida Vacation Homes
Thanks
to Florida Vacation Homes